I think there is an underlying fear of wood stain. For Halloween, I'm thinking of dressing up as a can of Minwax Antique Walnut and terrorizing all the local flea markets/boutique vendors/furniture restorers I can find.
Kidding...obviously. :) But seriously how often do we see a stained piece on a link party?
Like almost never.
I know that painting furniture is popular right now and I admit I enjoy how much easier it can be.
But when I walk into PB or Ethan Allen or any other established furniture store I don't see a ton of painted pieces.
Eventually the trend of painting furniture will end...maybe soon, maybe in 50 years, but I think it's good to know how to satin so we can create a variety of pieces.
When restoring a piece with the intent to stain, it does require more work to prep and stain can be a little more unpredictable with the look of the final product. Stain requires patience, but the outcome can be stunning.
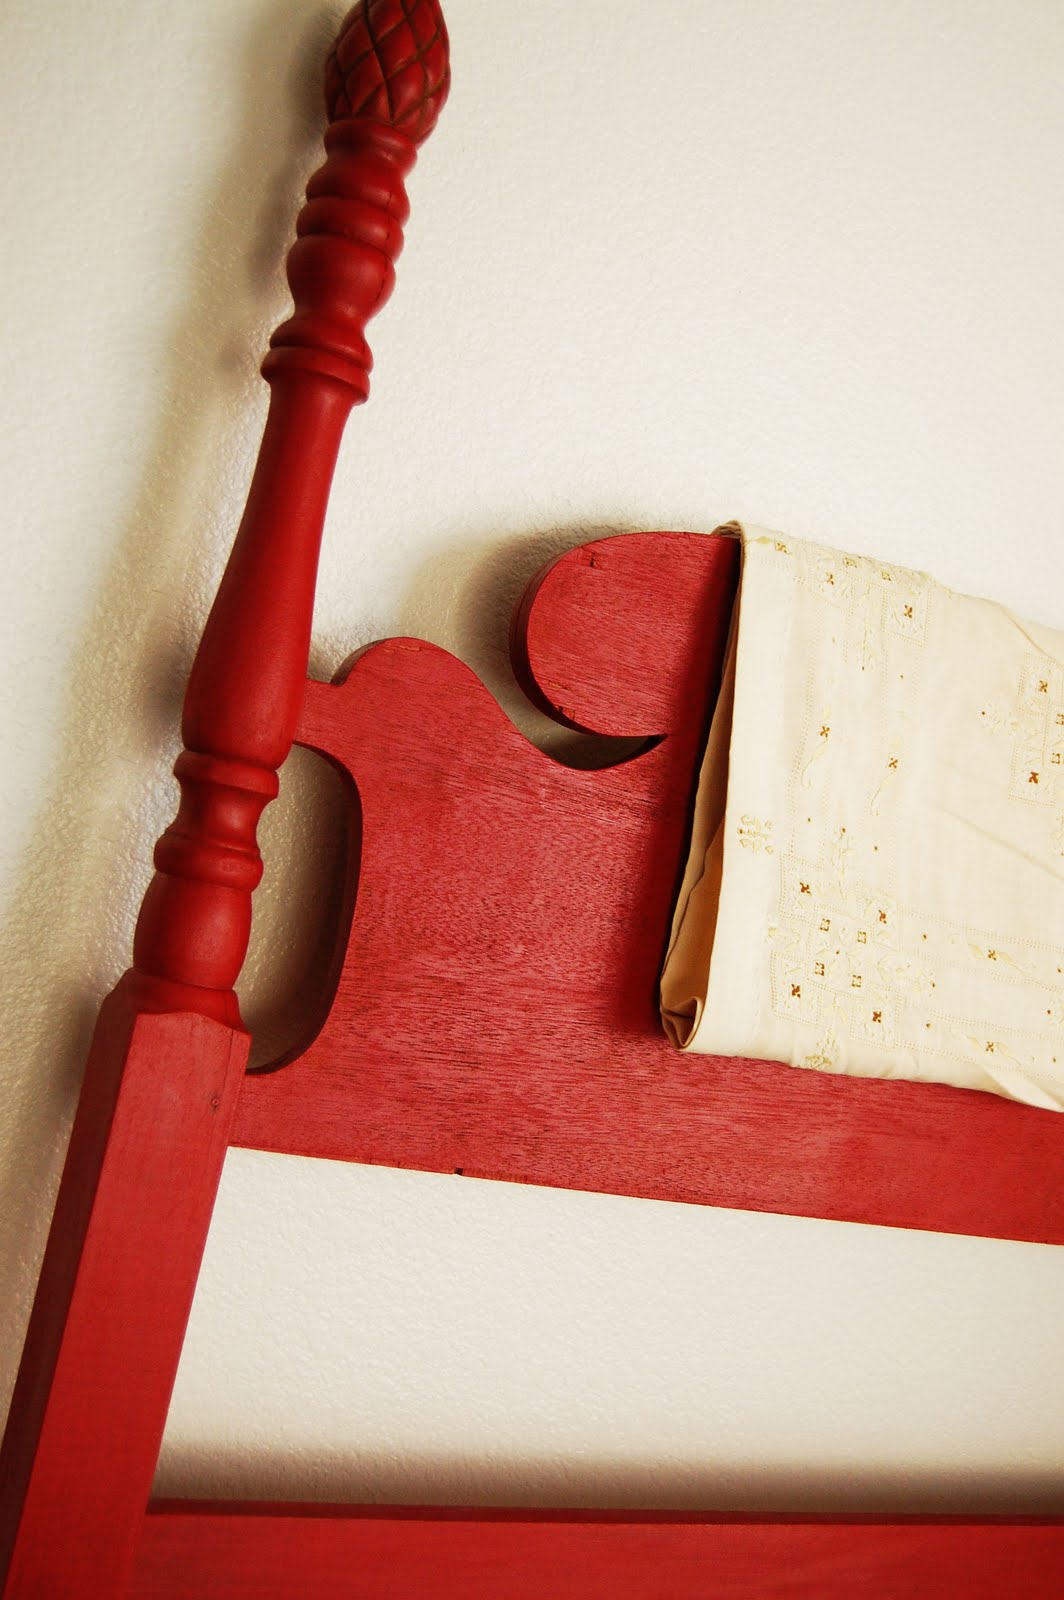
 |
| Via |
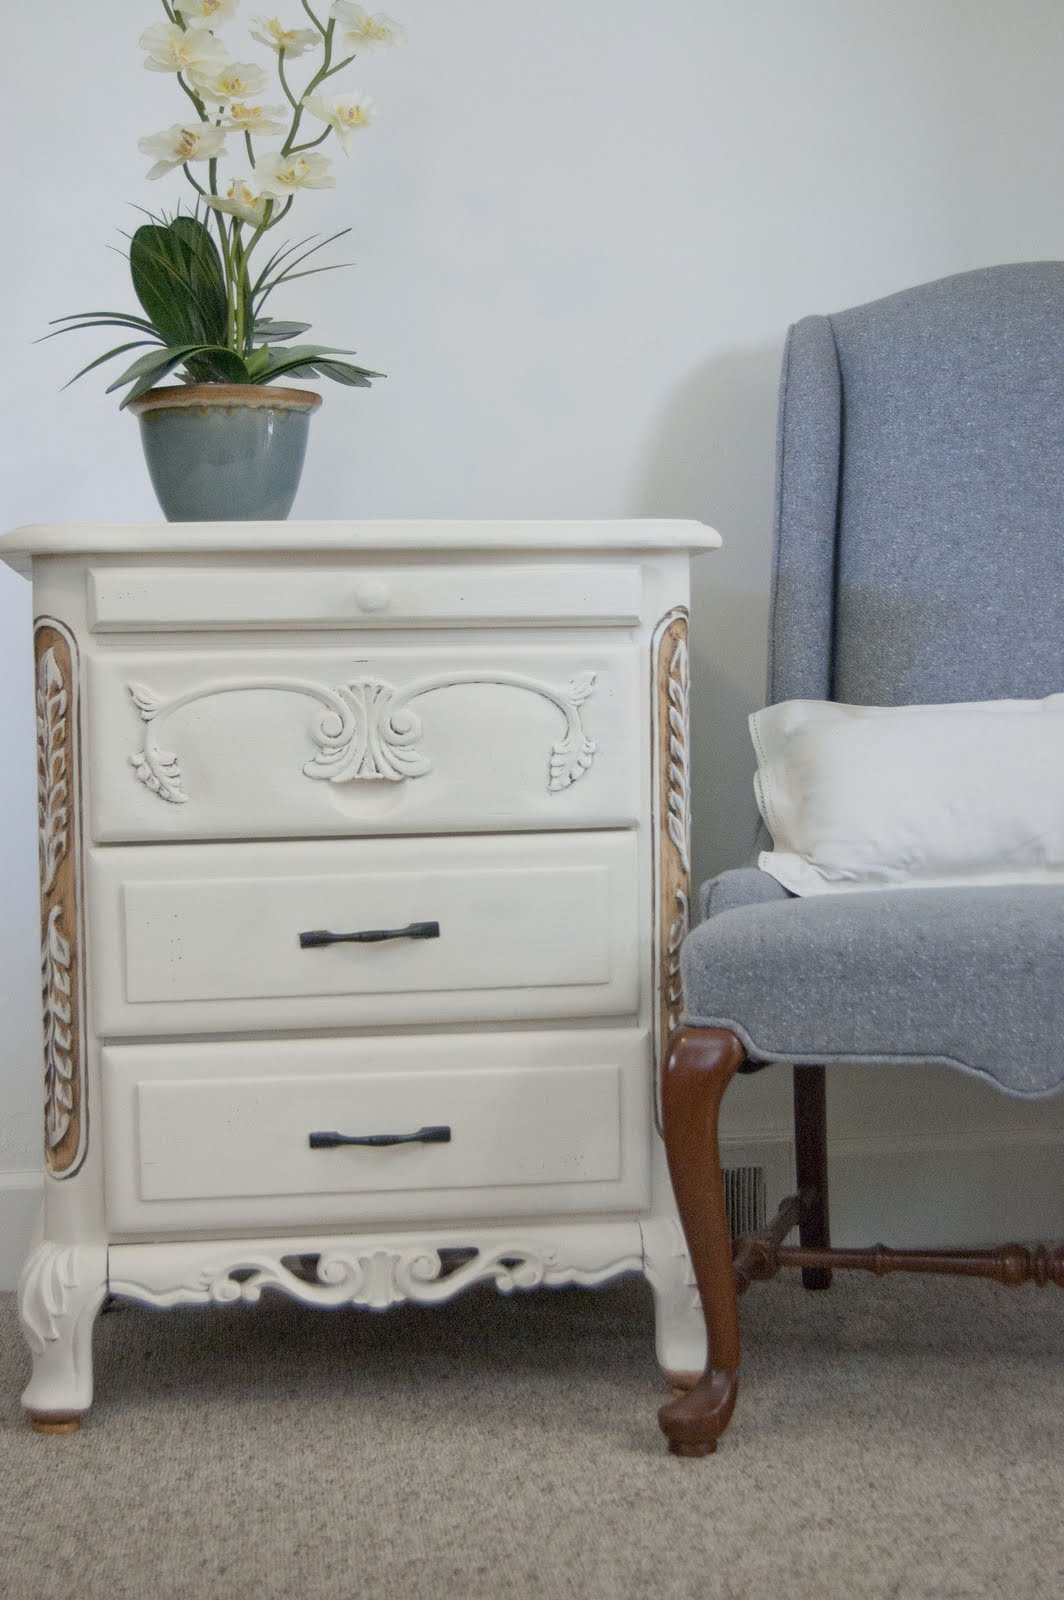
 |
| Via |

 |
| Via |
Before I started 551 East, most of the work I did was wedding presents for friends and most of it was stained. In no way do I consider myself an expert on the subject but I have learned a few things that I want to share with you to help take some of the stigma away from staining.
For me, one of the greatest frustrations of learning to stain was that I felt like every step was trial and error. I'd try it one way and then another and another till somewhere along the way I got it right.
And then found this AMAZING article- "How to Stain Wood Furniture" from TLC. I recommend this 100%. It takes you step by step through the refinishing process with great tips, tutorials and advice.
I highly advise you to take a look at it even if you don't do or plan on doing a lot of work with stain. It's got great tips on sanding a prepping a piece for any kind of finish you're planning on using.
And here are a few of my personal tips. :)
1. How to remove stain from your skin -
Stain is nasty stuff sometimes if you get in on your hands. As it dries, it becomes stickier and stickier. Soap doesn't do a great job of cleaning it off, but canola oil does. Use it like soap and when once the stain is removed use regular soap to wash the excess oil away.
2. Applying stain -
If you want to use a brush, buy a quality brush. Cheap brushes leave a trail of lose hair and if you leave a hair on the surface while it dries it can be almost impossible to remove it without sanding. If you try to go back and pick them out while the stain is still damp, you will probably need to do some touch ups which can lead to an inconsistant color on your surface. With stain, you don't want to do repeat coats until the previous coat is 100% dry. I recommend using foam brushes. They do absorb stain, so you might end up wasting a little of it, but I've always gotten better results. Or a clean, lint free cloth can also work really well.
3. Less is more-
It is SO much easier to add another coat of stain to deepen the color than to take a layer off if the color is too bold. You may end up doing coats (upward of 4 or 5) to get the color you want, but by applying the stain in thin even coats you run less of a chance messing up.
4. Stains come in LOTS of colors-
I think there is a myth that if you choose to stain a piece you are stuck with a shade of brown. FALSE! Minwax (and other brands) have a lot of color options.
5. It's a little easier to go darker than lighter-
If you don't remove all of the existing stain from a piece and then stain over it, the result can be splotchy. That's why if you chose a stain a shade darker than the original it can help mitigate for any traces of the existing stain left behind.
Hope this helps! Happy almost weekend!
PS If I show up at your door on Halloween actually dressed as a can of Minwax Antique Walnut please pretend to be scared.
Humor me just a little OK? :)